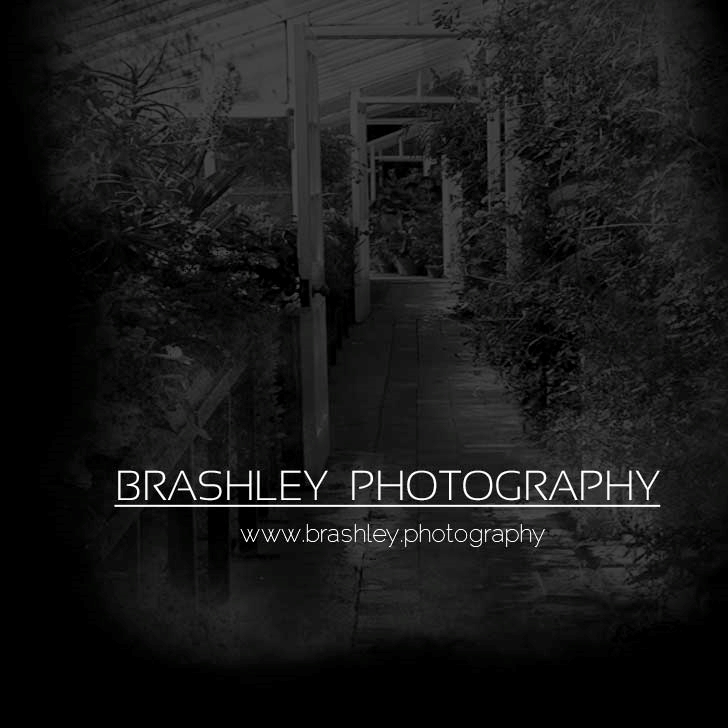
Camera: Canon EOS 70D
Lens: EF-S18-135mm f/3.5-6.6 IS STIM
F/Number: f/4.5
ISO: 100
Focal Distance: 42mm
Shutter Speed: 2.0 sec
Software: Adobe Photoshop and Lightroom Classic

In Photoshop
- I sent the image from Lightroom to Photoshop where I added a texture layer, selected Hard Light Blending Mode and using a layer mask I masked out the area using the brush where I did not want the texture to be.
- I then lowered the opacity of the mask to 91%

In Lightroom
- Lens Correction
- Remove Chromatic Aberration
- Enabled Profile Correction
- Transform Panel
- Rotate +2
- Scale +127
- X Offset +16
- Y Offset +8
- Cropped Image
- Angle 3.91
- Basic Panel
- Temp +25
- Tint +3
- Exposure -0.80
- Contrast +31
- Highlights -100
- Shadows +100
- White +10
- Blacks -20
- Clarity +82
- HSL Panel
- Hue
- Red -7
- Saturation
- Red -12
- Orange -3
- Blue +3
- Luminance
- Red -46
- Orange -12
- Hue
- Effects Panel
- Style Highlight Priority
- Amount -24
- Midpoint 42
- Feather 50

- Radial Filters
- Yellow
- Inverted
- Exposure 0.97
- Green
- Inverted
- Exposure 0.69
- Cyan
- Not Inverted
- Exposure -0.89
- Contrast 33
- Magenta
- Same as Green
- Orange
- Inverted
- Exposure 0.97
- Shadows 75
- Clarity 47
- Purple
- Inverted
- Exposure 1.52
- Yellow

I am really enjoying doing these step by step images… and I do hope you are finding them easy to follow and useful… Until next time… have a great weekend everyone!


Your comments are greatly appreciated